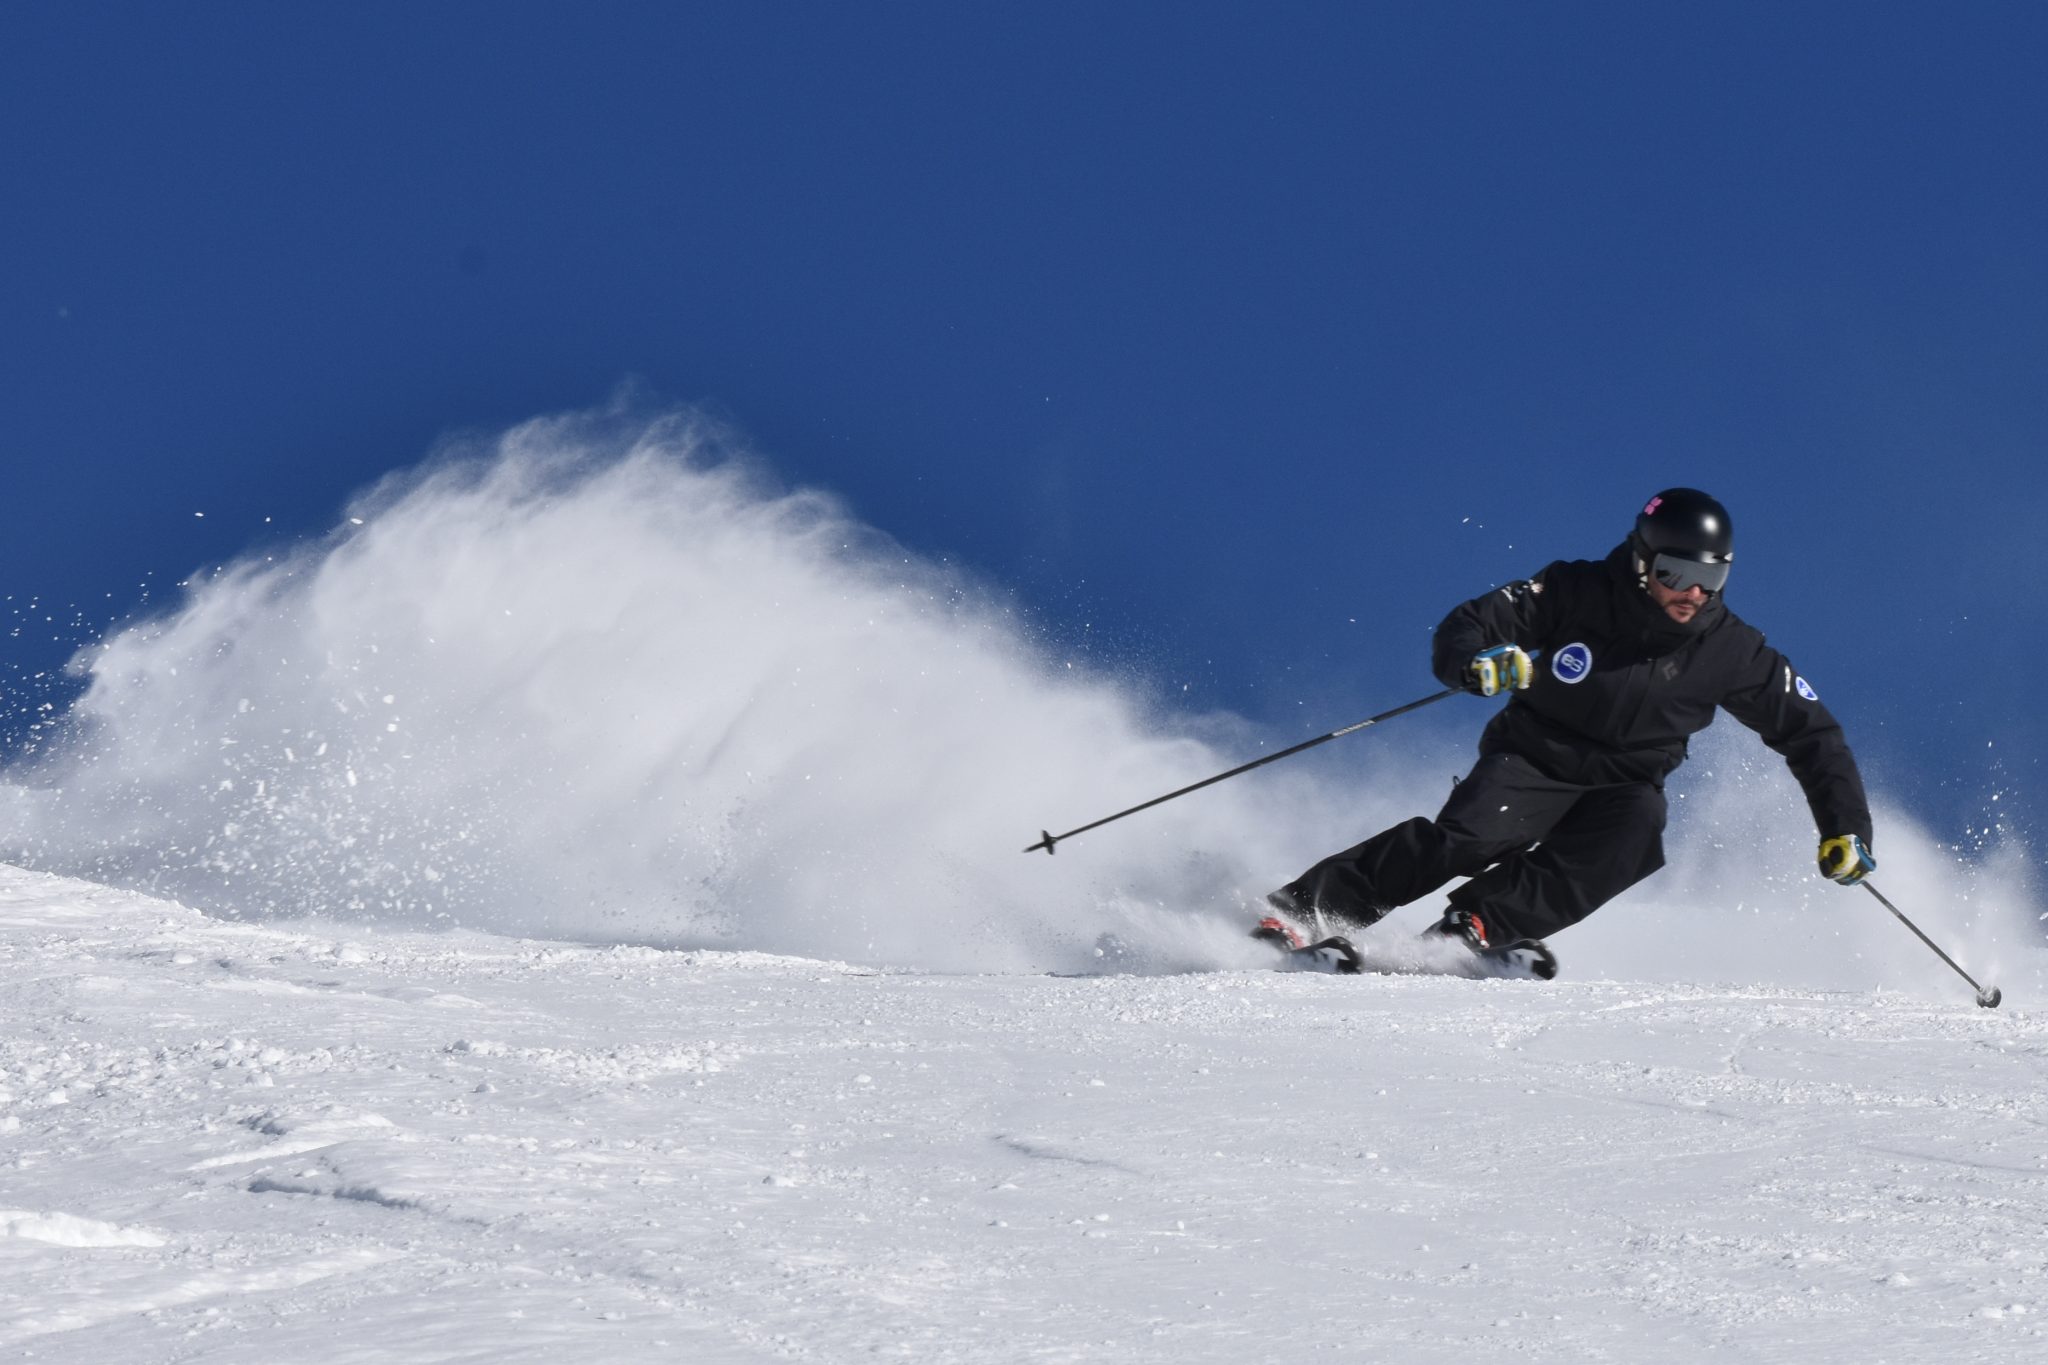
What is Good Skiing? Part 1 covered the basics of technique: the relationship between balancing over the middle of the skis and your ability to efficiently turn the legs. In Part 2, I want to look at the equipment we use and give you the essential knowledge you need to better understand what you’re doing.
Skis
Your skis have a number of features. First is their shape as you look down on them. You might have heard of ‘carving skis’ or ‘shaped skis’ as being distinct to the old-style ‘straight skis’. In fact, straight skis were not straight; they too had a sidecut.
What is a sidecut?
Sidecut is the shape of your skis as you look down on them. The skis are wider at the tip and the tail and narrow under the foot. There are often three numbers written on the small print of your skis, such as “110, 80, 95”. This refers to the width at the front, the middle and the tail (or back) of the ski. This forms a curve along the side of your ski; if you were to continue this curve, eventually it would form a circle. The radius of your skis is the radius of this circle when the skis are flat on the snow. This is also often written on your skis. Old-style straight skis have less sidecut than modern skis. So, less sidecut = longer radius, or more sidecut = smaller radius.
Camber & Rocker
 If you lay your skis on a high table and look at them from the side, you’ll notice that they do not lie flat; they rise up and are thicker in the middle. This shape, or camber, has one purpose: to spread your weight out over the skis. Enhanced sidecuts on skis can actually exaggerate the impact of leaning too far back or forwards. Camber distributes the weight to the wider parts at the back and the front of the ski. To explain, let’s think of these corners as having wheels. If you were in a car, heavily-laden with your heaviest friends and their luggage in the back and towing a trailer, the front wheels of your car would have no grip and the first wet bend you attacked might leave you poking out of a hedge. In the same way, it’s important to use the whole ski and have pressure on both the front and the back. The middle of the ski should be the highest point in the camber (HPC). Usually, the HPC is in the middle of the ski or at least the part of the ski that touches the snow.
Bindings
Bindings are usually positioned over the HPC so that the strongest part of your foot – “the ball” – is over the top of the camber. It is there so that if you stand normally, balancing on the balls of your feet like you do every day of your life, your weight will be spread out along the skis. This is the case for the vast majority of skis; though some skis are centrally mounted, such as park skis that make it easier for park skiers to do jumps with rotations.
Boots

Remember in Part 1 we talked about flexing in all three joints so that you stay over the centre of your skis? This ‘centre’ is the ball over the top of the camber. Flexing movements can move the weight backwards and forwards; this is where the boots come in.
The boots have three roles: to keep your feet warm; to stop the edge of the ski running flat; and lateral support to allow your legs to flex in all three joints evenly. The ankle is the weakest joint, the knee is stronger, and the hip is bigger and stronger still. The ankle needs this support, so boots must flex, both when they are warm in the shop and when they are cold out on the slopes in January. Most boots these days are what is known as 4-clip boots – as you make these tighter, the flex gets harder. Flex of boots is measured in numbers typically like 90 or 120 or 130. These numbers don’t refer to any set standard; they are just made up by the manufacturer.
Boots also have a size, like a shoe size, which corresponds to the sole length (sometimes many sizes share the same sole length) and some have a ramp angle. Ramp angle is the angle of the foot relative to the floor and has an important impact on how the legs flex. Some ladies boots have higher ramp angles, actually making it harder for ladies to flex their ankles. Typically, in a good ski resort there will be one or two shops that specialise in boot-fitting. Some sell complete boots whilst others do customer fits using inner boots, outer boots and customer foot beds to tailor the boot to the client’s need. Mountain Air in Verbier do this very well.
Edges
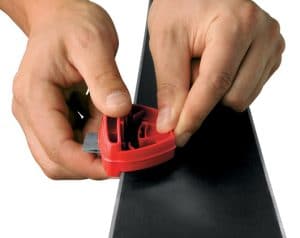 Skis have metal edges that need to be sharpened. These days there are two measurements: the angle filed into the base of the edges relative to the base (called ‘base bevel’), and the angle of the side of the edges. Typically, there might be half a degree on the base and 88 degrees on the side. This angle is sometimes more or sometimes less, depending on the type of skier and the ski being used. At its most basic, a ‘ski tune’ is the sharpening of the edges, which are then slightly blunted for about 15cm at the tip and tail. This makes the ski easier to turn.
Base
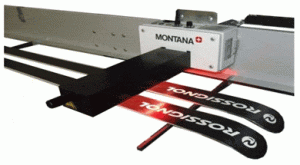 In between the edges is the base material. The base material can absorb wax; this absorption makes the material slide across the snow with less resistance. There are of course different types of wax for different conditions. You might think that bases would be polished, though this is not so. A pattern of mini grooves is added to the base, which breaks the friction that builds up as the ski passes over the snow. Ski tuning takes many forms: edges can be tuned in many ways; and wax can be rubbed on, rolled on, ironed on, melted in with infra-red lamps or friction pads, or sprayed. This wax is then removed with brushes leaving wax-penetrated, structured and brushed base material to have contact with the snow.
A well-waxed pair of skis will go faster but more importantly, will also make it easier to initiate your turns and steer your skis.
If you’re a recreational skier, leave this servicing to your local ski shop like Mountain Air.
In Part 3, we’ll go into some of the more advanced techniques you can deploy to get around the mountain.
